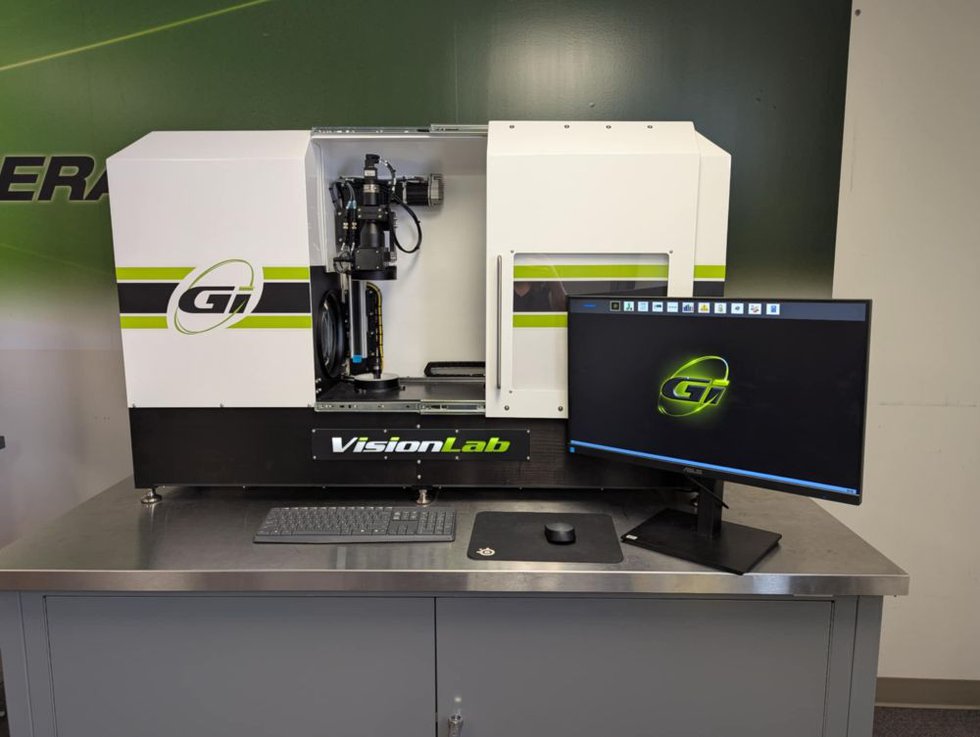
General Inspection has announced that one of the world’s largest screw manufacturers has adopted another VisionLab-150 3D Fastener Gauging System. The technology is used to streamline first-part inspections, with the Illinois-based company set to use the VisionLab-150 to enhance accuracy levels and help save time.
For screws, the VisionLab-150 has a high/low thread measuring algorithm as part of its thread measurement capabilities. This includes all pertinent System-22 requirements, lobular-shaped threads, and algorithms for screw threads and high/low threads. Additionally, the VisionLab-150 measures straightness and other GD&T characteristics.
Key features of the VisionLab-150 3D Fastener Gauging System
- Provides complete part dimensional inspection in less than five minutes.
- Performs 360⁰ dimensional inspection with detailed data reporting, plus optional 360⁰ visual defect detection, end view inspection, and measures recess depth and recess concentricity.
- Optional End-View measures and detects visual defects on both ends of parts, including features like recesses, inner/outer diameters, through holes and counterbores.
- Optional surface control detects visual defects, like bad plating, thread patch presence/quality, as well as measuring knurl width, gap, and height.
- Optional slewing optics automatically tilt for an improved view of the threads to measure root radius.
- An optional upper tooling and bit kit for parts with a recessed drive.
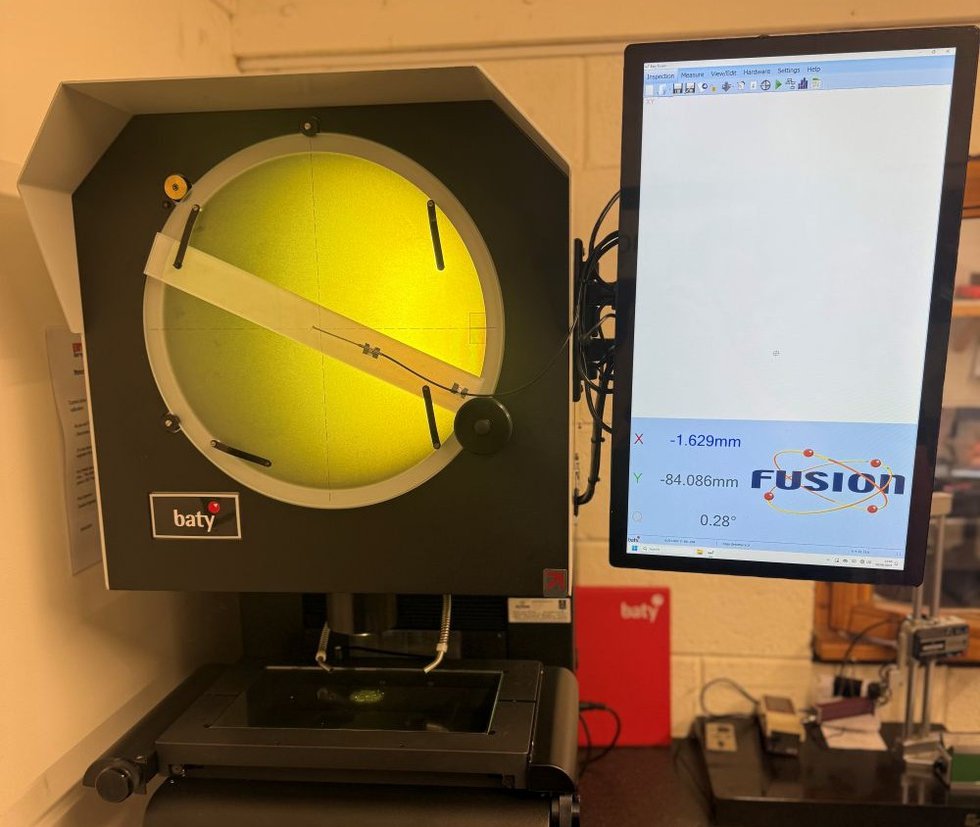
The screw manufacturer was aiming to reduce inspection time, improve quality levels, and minimise calibration costs by replacing multiple manual gauges, like micrometres, callipers, and optical comparators. The company selected Visionlab-150 as it completes first-piece inspections in a fraction of the time, allowing employees to concentrate on production tasks.
As a result, production has increased, errors have been reduced, and the manufacturer can measure with greater frequency. All dimensions, including screw threads, hi/low threads, lengths, diameters, radii, angles, and GD&T features, are measured and given a pass or fail indication. Custom data reports are created and saved as CSV or Excel files, saving time and money while also improving quality levels by accurately measuring parts within two microns.


