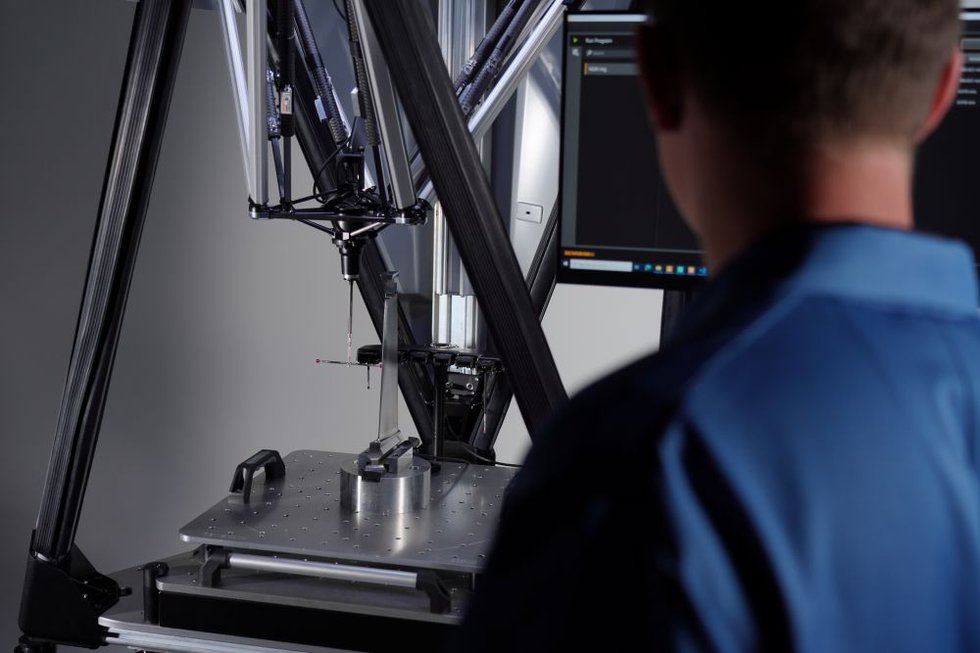
Renishaw has successfully launched its latest shop floor process solution, the Equator-X 500 dual-method system. The solution allows manufacturers to select the optimum inspection method, Absolute or Compare, for their process task, deploying two systems in one.
Designed to address shop floor challenges where products vary with frequent design changes, the solution offers enhanced levels of speed, flexibility, and ease of use. The Equator–X 500 gauge features a hexapod structure with independent drive and metrology frames. The solution can achieve high-speed motion without compromising metrology due to design features like carbon fibre metrology struts, linear motor drives, and the industry-standard SP25M scanning probe. Not only can the system be deployed as a standalone shop floor device, but it can also be integrated within a fully automated cell, boosting flexibility levels with the system more adaptable to evolving demands and variable shop floor conditions.
Key benefits of the Equator-X 500 dual-method system:
- Increased throughput and inspection capacity.
- Fully traceable in-process verification of parts on the shop floor.
- Continuous validation of the production process.
- Flexibility to select the optimal measurement method for each application with a single device.
- Optional Absolute and Compare measurement modes fulfil fast-paced manufacturing environment needs when there are different requirements.
The Equator–X 500 system’s standard software platform features an intuitive and feature-rich operator interface coupled with Renishaw's latest MODUS IM metrology software applications. This software suite’s tools provide enhanced convenience and robust performance for programming, reporting and operation, simplifying complex tasks and improving the users’ experience.
About Absolute mode
In Absolute mode, the system measures parts at scanning speeds of up to 250 mm/s. This helps to improve the inspection capacity and throughput for manufacturers of small to medium batch sizes and high part variety. This mode is ideal for first-off verification next to the machine or at-line 100% inspection.
About Compare mode
Whereas in Compare mode, the system delivers an ultra-high scanning speed of up to 500 mm/s, making it ideal for inspecting large batches of the same component when prioritising cycle time. Additionally, it provides a high-speed measurement option when varying thermal environments are present.


