Metrologists face significant challenges in an increasingly competitive manufacturing environment. They're under pressure to boost efficiency and accuracy levels of ultra-precise measurements, while also managing a complex variety of measurement devices and software that are becoming increasingly more advanced. Additionally, metrology teams are also facing growing inflation, rising competition, and labour shortages.
Éric Roberge, Vice President of Products and Innovation for the Metrology Suite at InnovMetric, explains the importance of selecting software that empowers metrologists to master all dimensional inspection tasks, intending to optimise business resilience during periods of growth. He reported, “Whether working with probing, scanning, gauging devices, or CNC CMMs, teams can prepare inspection projects, execute measurement sequences, and analyse as well as report measurement results—all within a single environment that streamlines operations and boosts productivity.”
To encapsulate the struggles faced by metrology teams, this article will look at the complex mould designer, Borromini, and its mission to resolve its 3D measurement capability limitations.
Borromini’s journey to enhanced metrology
To overcome the limitations surrounding its 3D measurement capabilities, Borromini’s metrology team adopted a universal software platform to enhance the company’s workflow.
Borromini S.r.l. specialises in the design of complex moulds for the automotive lighting industry and small home appliances. Throughout the years, the company has collaborated with the likes of Alfa Romeo, Volvo, and Toyota. However, Borromini’s 3D measurement technology faced a few limitations, including:
- Lack of flexibility: The software could not adapt to new or different measurement technologies.
- An unintuitive interface: The complex user interface slowed down operations and increased the risk of errors.
- Inefficient processes: The team struggled with managing complex mould projects, often resulting in multiple time-consuming adjustments.
To solve these limitations, Borromini selected the PolyWorks|Inspector software solution. Since then, the company has found that the software has “radically transformed” its operations.
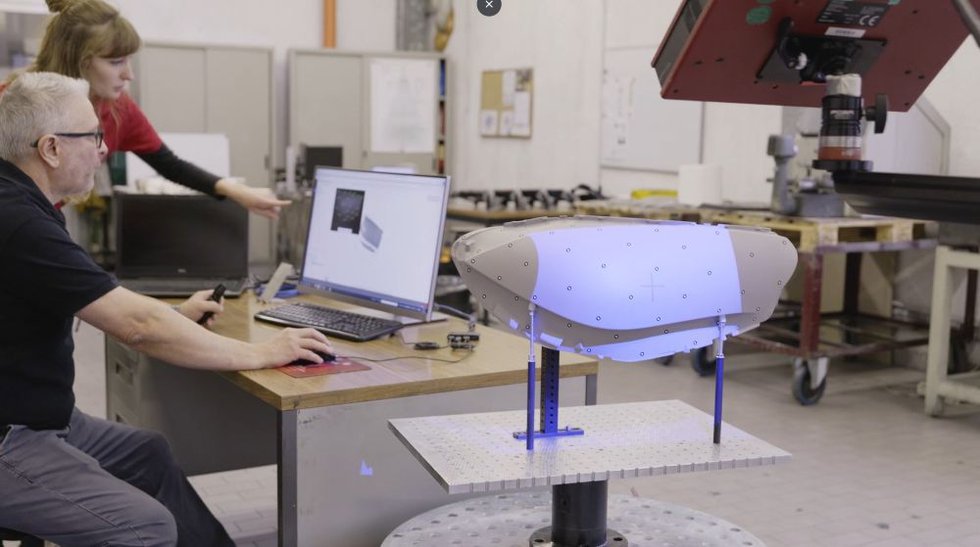
“PolyWorks has transformed our workflow, making it faster, more intuitive, and far more efficient. From a small car’s performance, we’ve reached the speed of a race car,” said Manuel Sofia, Quality Assurance Manager at Borromini S.r.l.
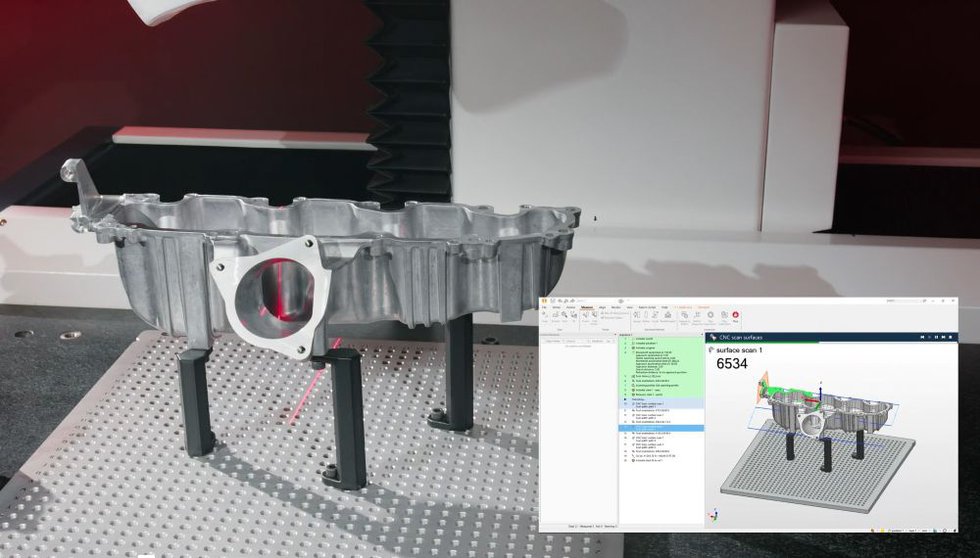
PolyWorks|Inspector has been integrated with Borromini’s Hexagon CMM, allowing for the efficient management of complex moulding projects, a previous limitation for the company. Now, PolyWorks|Inspector provides:
- Reduced 3D model adjustments with a new, intuitive interface.
- More accurate and quicker 3D measurement processes.
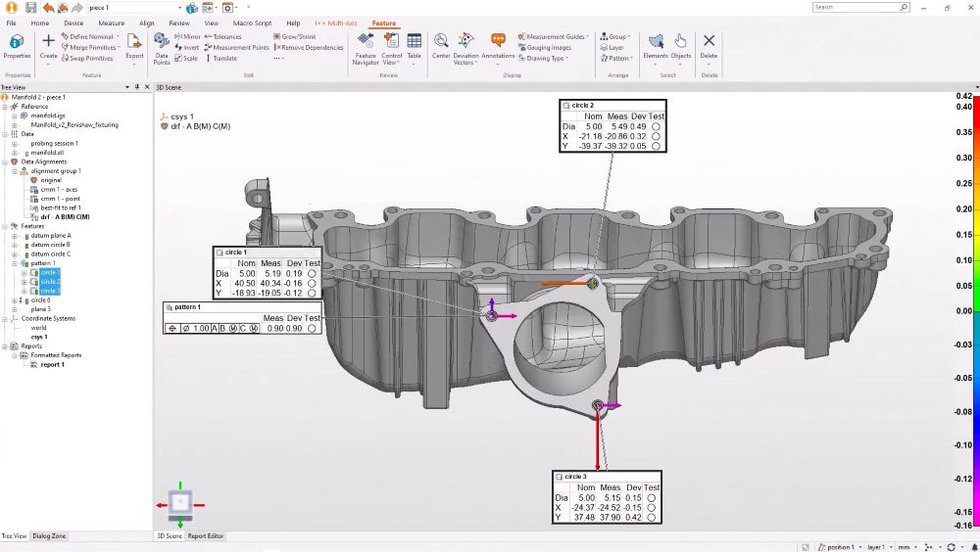
- High-quality reports that are accessible to everyone who needs to see them.
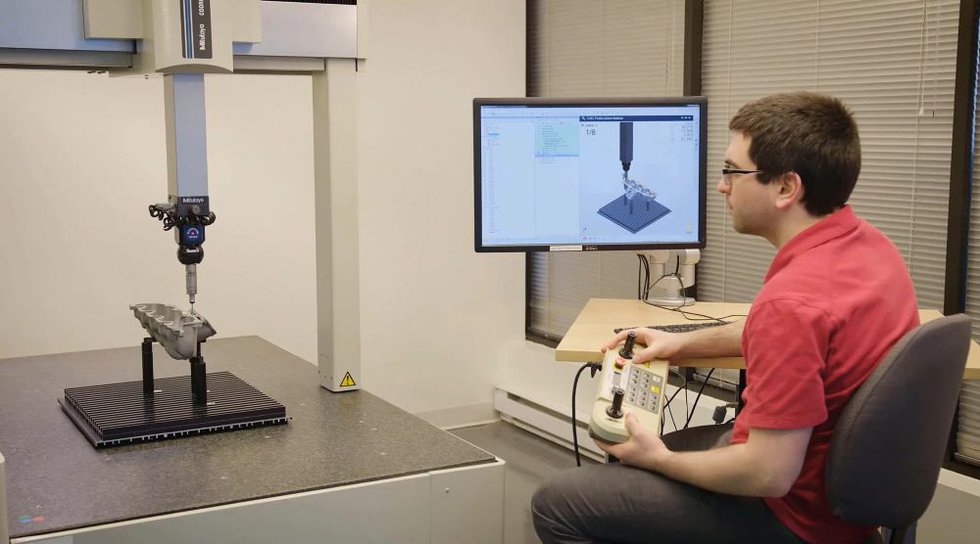
“Our universal software platform, PolyWorks|Inspector, stands out for its versatility. It supports a wide range of measurement devices and inspection contexts, enabling teams to switch seamlessly between technologies and workflows,” Roberge outlines. Metrologists using PolyWorks|Inspector benefit from a solution intended to simplify their workflow. Whether performing routine inspections or tackling complex measurement challenges, they get to work from an intuitive interface that supports both occasional and experienced users, enabling fast learning and efficient workflows. The combination of versatility and usability strengthens organisational agility and fosters a more resilient, empowered workforce, exactly what modern manufacturing environments require to stay competitive.
When asked how important these collaborations are in the future development of software platforms like PolyWorks|Inspector, Roberge responded, “Collaborating with companies like Borromini provides invaluable insights that help shape the future of PolyWorks|Inspector. Their use cases, especially working with finished parts that arrive without CAD data, highlight the need for flexible inspection workflows and seamless integration with reverse-engineering tools like PolyWorks|Modeler. Feedback from Borromini and other enterprises guides our innovation priorities, helping us enhance data accessibility, streamline cross-platform workflows, and improve the overall user experience for our clients.”
Key features of PolyWorks|Inspector for metrologists:
- The software operates all probing, scanning, and gauging devices.
- Maximises productivity in probing and scanning devices.
- Performs all dimensional inspection tasks using a universal 3D metrology workflow.
- Dimensional toolbox certified by PTB and GD&T based on the latest ASME and ISO standards.
- Deploys flexible inspection projects ready to measure with any 3D measurement device.
- Reduces CNC CMM inspection complexity with No-code programming.
Request a free demo at your metrology lab and experience PolyWorks|Inspector in action first-hand.
Q&A with Éric Roberge, Vice President of Products and Innovation for the Metrology Suite at InnovMetric
RT: How does the PolyWorks|Inspector software solution help metrologists tackle the increasing demand for precise, complex measurements like those on the nanoscale?
ER: As metrologists face growing demands for ultra-precise measurements, PolyWorks|Inspector continues to process data acquired from any type of measurement devices. This includes even the most detailed datasets, such as nanoscale 3D data captured using tools like scanning electron microscopes (SEMs). When it comes to precision, our data processing algorithms—such as meshing and noise reduction—are governed by tolerance thresholds to ensure measurement accuracy is preserved. Moreover, our feature-fitting algorithms are PTB-certified, and all GD&T calculations strictly comply with ASME and ISO standards.

RT: Can you provide us with an example of one of the most challenging applications the PolyWorks|Inspector solution could be utilised in?
ER: PolyWorks|Inspector is used in production for critical assembly processes involving large-scale products—examples include:
- Aligning aircraft fuselage segments to minimise rework
- Guiding the construction of fusion reactors
- Controlling the quality of wind turbines before installation
We are very proud that these companies base their high-stakes decisions on the insights delivered by our flagship product.
RT: Are there any future trends that may influence any PolyWorks|Inspector upgrades?
ER: One of the most influential trends shaping the future of manufacturing is the growing demand for artificial intelligence (AI). In metrology, AI is mainly leveraged in two ways: to facilitate product use and to support result analysis. Our development team is working on both aspects and will be launching AI-based innovations in upcoming releases of PolyWorks|Inspector.
Another trend is the rising demand for end-to-end digital connectivity. As manufacturers strive to reduce time-to-market and manage increasingly complex part geometries, seamless access to the measurement data collected by quality control teams in PolyWorks|Inspector becomes critical.
PolyWorks|Inspector is the cornerstone of the dimensional inspection digital thread, standardising all 3D inspection projects and results into a single, unified format. This data can then be centralised using PolyWorks|DataLoop, a data management solution that makes information accessible to all stakeholders, accelerates issue resolution, and drives continuous improvement.
Finally, integrating digital connectors with CAD platforms, PLM systems, or standard analysis tools like Microsoft Excel and Power BI unlocks limitless possibilities to foster continuous growth and boost business efficiency. When connected to a company’s digital thread, PolyWorks|Inspector data becomes a strategic and actionable asset, fuelling real-time collaboration and informed decision-making across the enterprise. That’s why our team is committed to making this valuable data increasingly accessible enterprise-wide for our customers.


